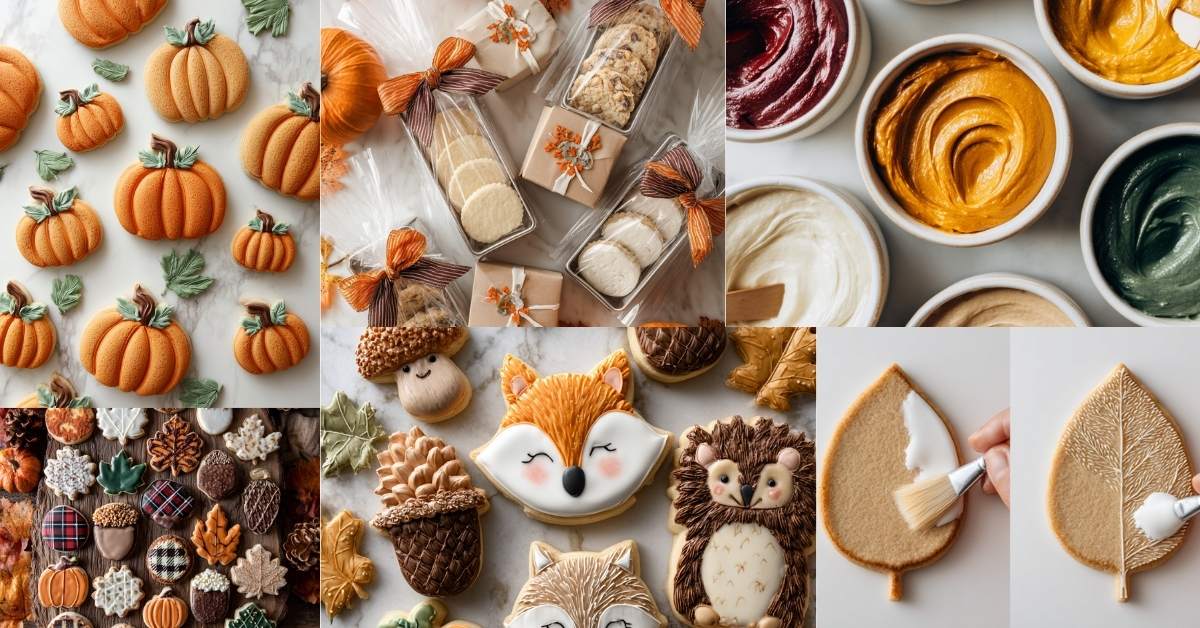
The Art of Aesthetic Fall Cookie Decorating
Transform simple cookies into stunning autumn masterpieces that capture the season’s most beautiful colors and textures
There’s something special about turning basic dough into edible works of art that celebrate everything we love about autumn – the warm colors, cozy textures, and natural beauty of the changing season.
Whether you’re a beginner baker or someone who’s been decorating cookies for years, creating aesthetic fall cookies is all about embracing the season’s palette and letting your creativity flow.
Let me walk you through everything you need to know to make cookies that are as beautiful as they are delicious.
Getting Started: Essential Tools and Supplies
Before we jump into the fun part, let’s talk about what you’ll need. The good news? You don’t need expensive equipment to create stunning results.
Basic decorating tools:
- Squeeze bottles or piping bags for royal icing
- Toothpicks for detail work
- Small offset spatula for spreading
- Food coloring (gel works best)
- Small bowls for mixing colors
Fall-specific supplies:
- Leaf-shaped cookie cutters in various sizes
- Pumpkin and acorn cutters
- Apple and pinecone shapes
- Edible gold dust for that autumn shimmer
- Orange, burgundy, golden yellow, and deep brown food coloring

The Perfect Fall Color Palette
Creating cohesive, aesthetic cookies starts with choosing the right colors. Fall gives us such a rich palette to work with – think beyond just orange and brown.
Classic autumn colors:
- Burnt orange and deep pumpkin
- Golden honey yellow
- Rich burgundy and wine red
- Warm caramel brown
- Sage green for those last leaves
- Cream and ivory for balance
Pro tip: Mix your colors in small batches and test them on parchment paper first. Colors often dry darker than they appear when wet, and you want consistency across all your cookies.

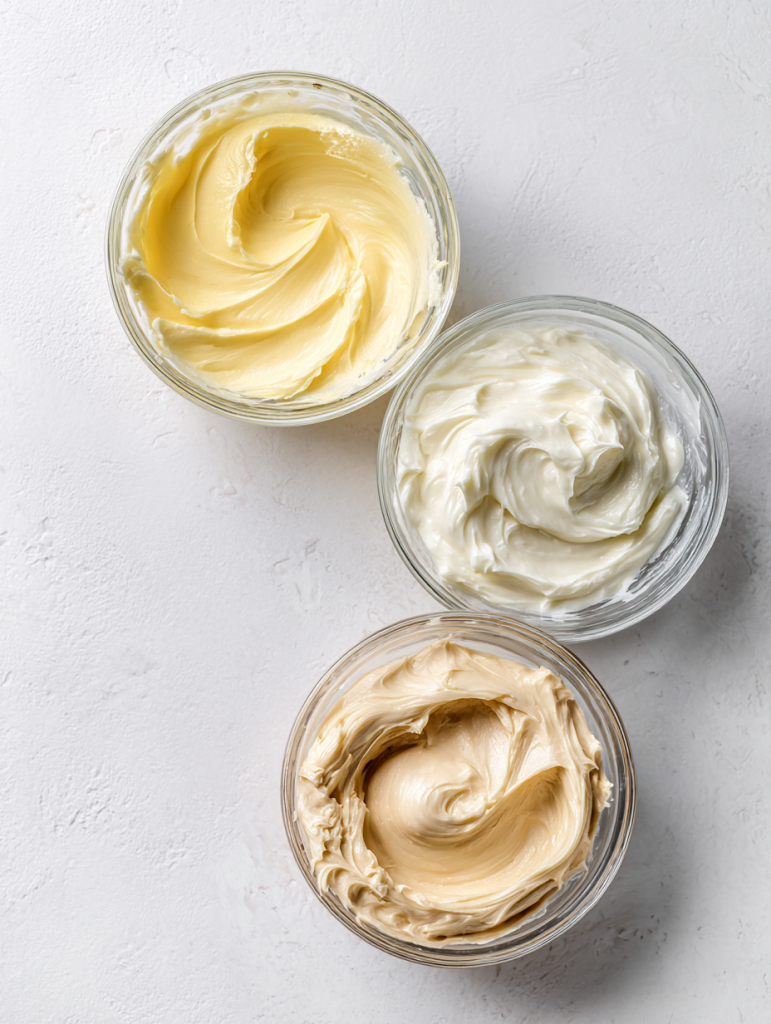
Royal Icing: Your Canvas for Creativity
Royal icing is the foundation of beautiful decorated cookies. It dries hard and smooth, creating the perfect surface for detailed work.
Basic royal icing recipe:
- 4 cups powdered sugar
- 3 tablespoons meringue powder
- 5-6 tablespoons warm water
- 1 teaspoon vanilla extract
Start by mixing the powdered sugar and meringue powder. Add water gradually until you reach the right consistency – it should flow smoothly but hold its shape when piped.
For fall cookies, you’ll want different consistencies:
- Outline consistency: Holds its shape for borders
- Flooding consistency: Flows easily to fill in areas
- Medium consistency: Perfect for details and textures
Signature Fall Cookie Designs
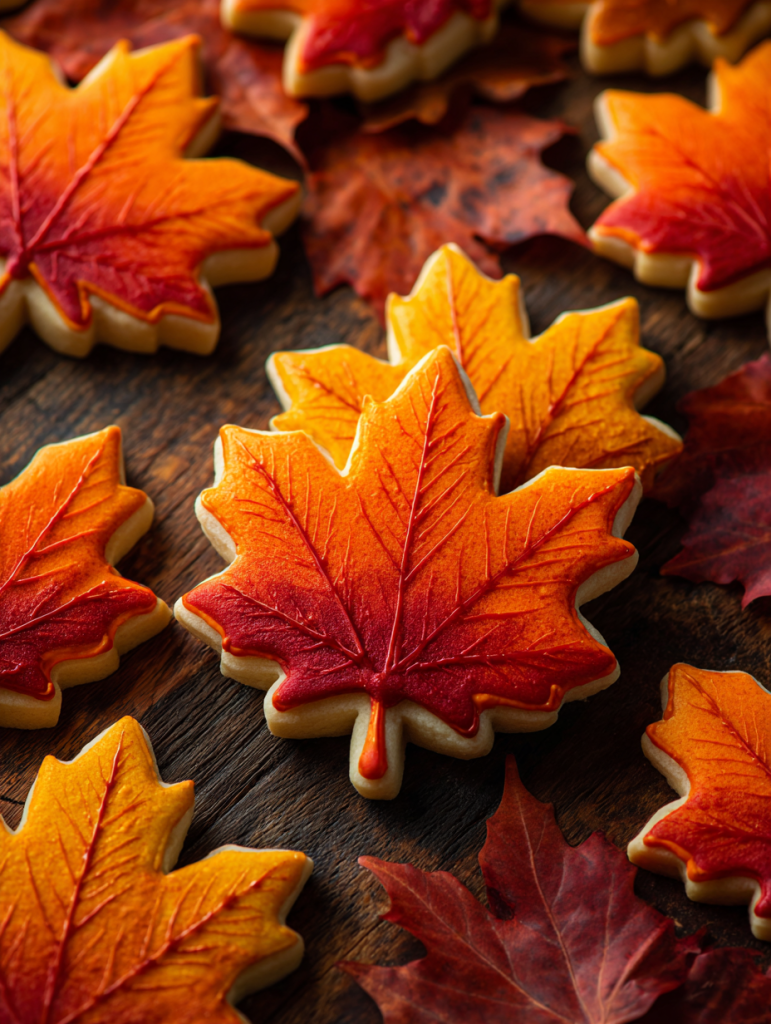
Maple Leaves That Look Real
Start with a basic leaf cookie cutter. Outline in a medium brown, then flood with a gradient technique – start with golden yellow at the stem, blend to orange in the middle, and finish with deep red at the tips.
While the icing is still wet, use a toothpick to create the natural vein patterns of a maple leaf. This technique creates depth and makes your cookies look incredibly realistic.
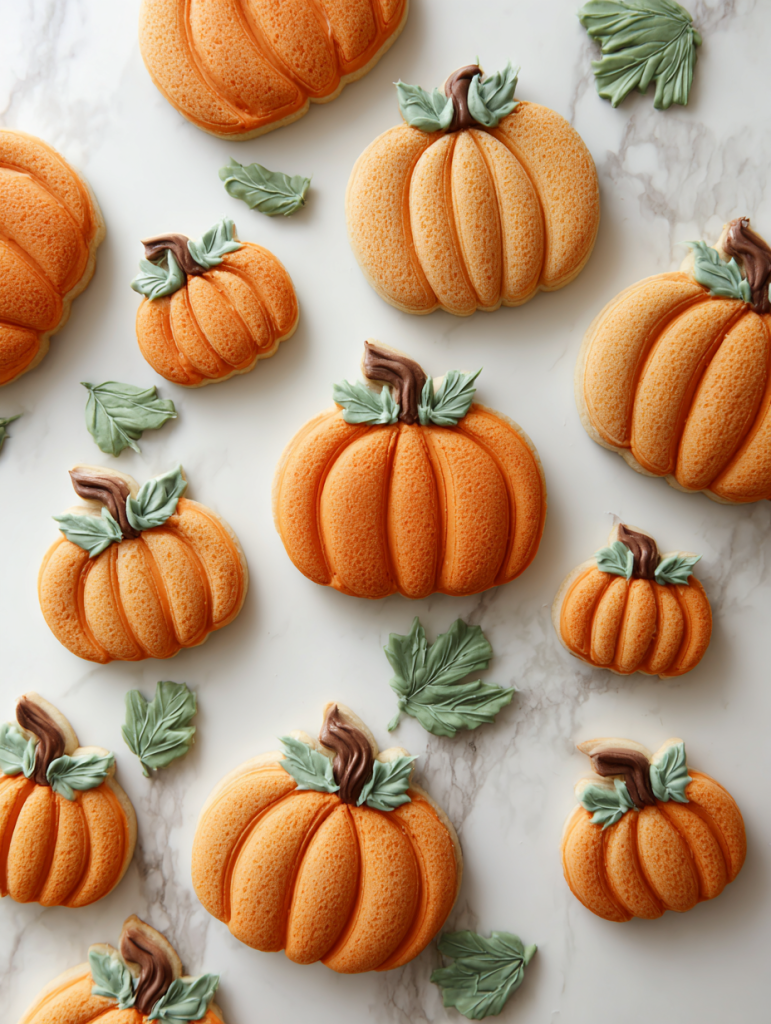
Rustic Pumpkins with Character
Skip the perfect, uniform pumpkins and go for character instead. Use a deeper orange base and add natural-looking ridges with a slightly darker shade.
Add dimension by piping curved lines from top to bottom, then use a small brush to blend them slightly. Finish with a twisted brown stem and a small green leaf for that fresh-from-the-patch look.
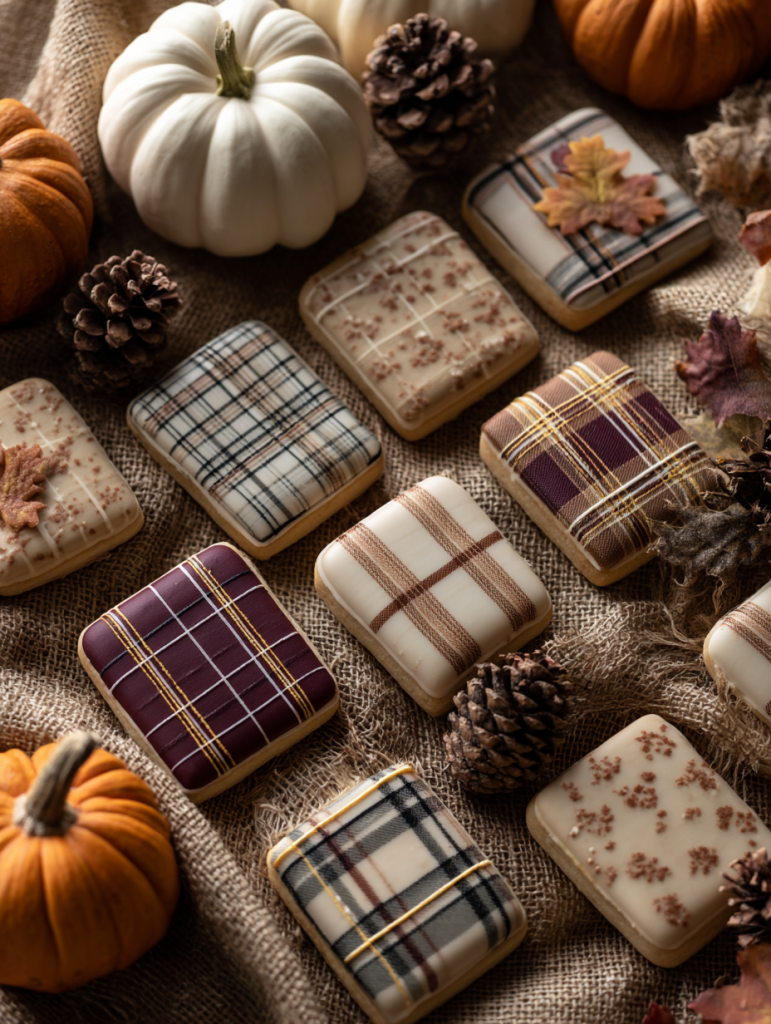
Cozy Plaid Patterns
Plaid cookies scream fall comfort. Start with a cream or light brown base. Once dry, pipe thin lines in burgundy going one direction, then cross with golden brown lines going the other way.
The key to good plaid is varying your line thickness slightly – it looks more natural and handmade.
Woodland Acorns
These little gems are perfect for adding texture to your fall collection. Use a golden brown base for the nut portion and a darker brown for the cap.
While the cap icing is wet, use a fork to gently create a crosshatch texture that mimics the natural pattern of acorn caps. Simple but incredibly effective.
Advanced Techniques for Stunning Results
Wet-on-Wet Marbling
This technique creates beautiful, organic patterns perfect for fall themes. Flood your cookie with one base color, then immediately add drops of a second color. Use a toothpick to swirl gently – less is more here.
This works beautifully for creating wood grain effects on tree trunk cookies or natural stone patterns for harvest-themed designs.
Brush Embroidery for Leaves
After outlining your leaf shape, use a damp brush to pull the icing from the outline toward the center, creating a delicate, embroidered effect. This technique adds incredible texture and makes leaves look almost fabric-like.
Sanding Sugar for Texture
While your icing is still wet, sprinkle sanding sugar in coordinating colors. Gold sanding sugar on warm brown cookies creates a beautiful autumn glow, while orange sugar on cream icing adds warmth and depth.
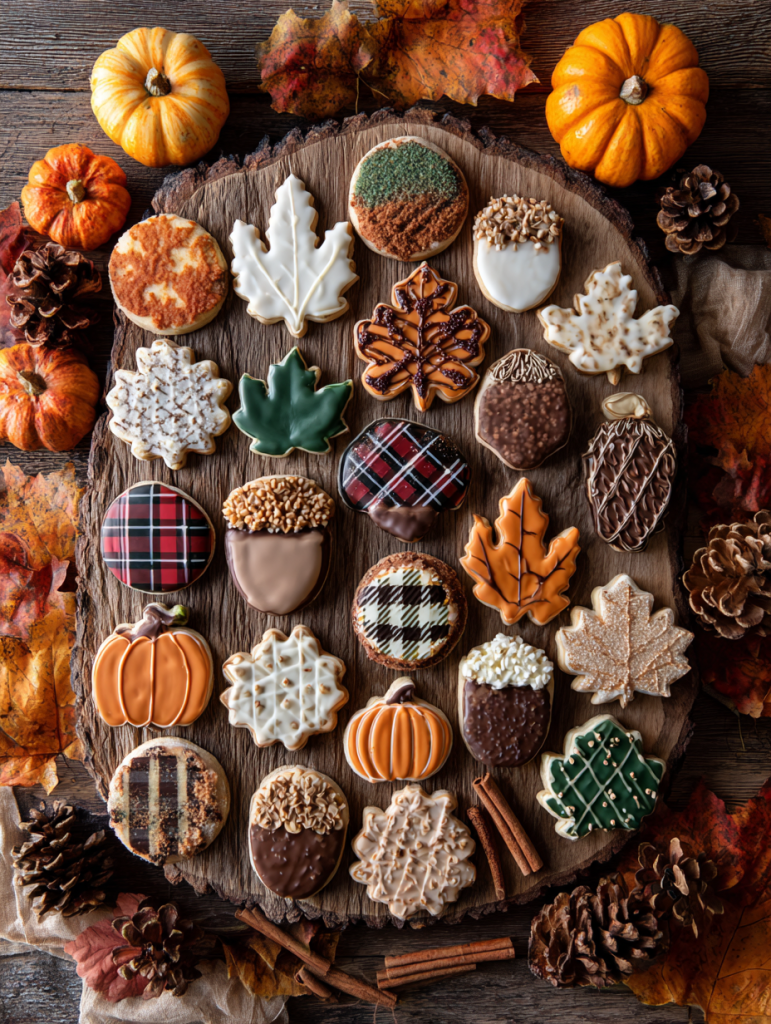
Creating Cohesive Cookie Collections
The secret to Pinterest-worthy cookie photos isn’t just individual cookie perfection – it’s creating collections that work beautifully together.
Tips for cohesive sets:
- Stick to 3-4 main colors throughout your collection
- Vary your shapes but keep the decorating style consistent
- Mix detailed cookies with simpler ones for visual balance
- Include different sizes for dynamic arrangements
Troubleshooting Common Decorating Issues
Icing too thin? Add more powdered sugar gradually until you reach the right consistency.
Colors bleeding together? Make sure your base layer is completely dry before adding details – this usually takes 1-2 hours.
Rough icing surface? Your icing might be too thick, or you might need to pop surface bubbles with a toothpick while it’s still wet.
Details not showing up? Make sure there’s enough contrast between your base color and detail colors.
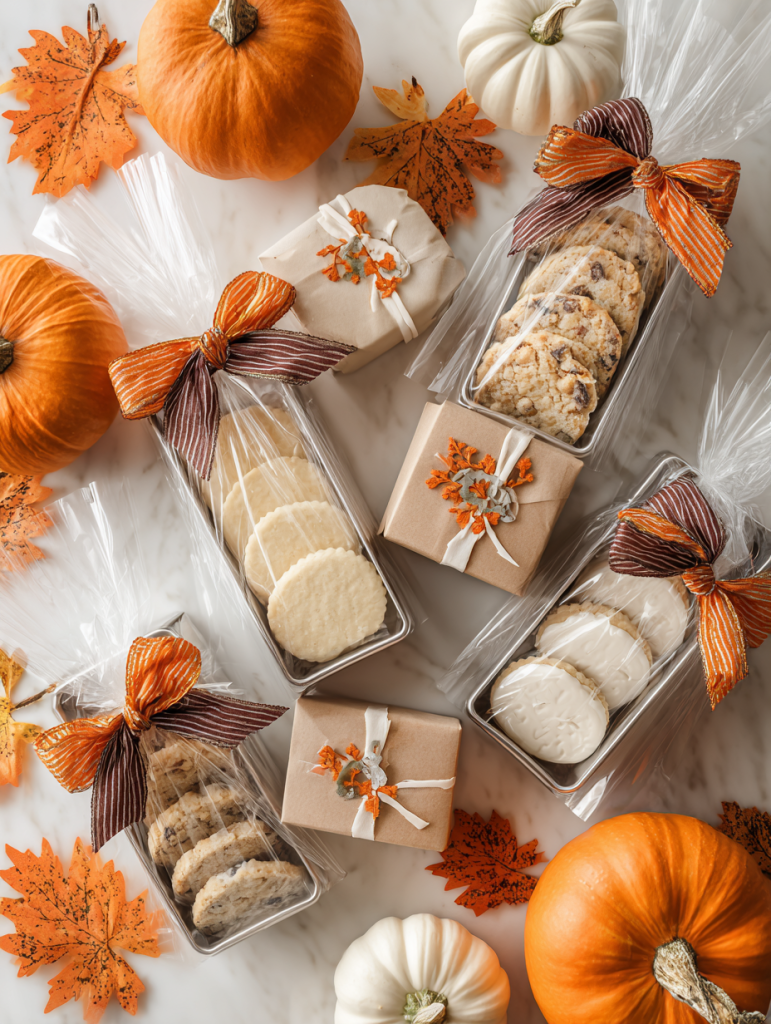
Storage and Gifting Ideas
Properly decorated royal icing cookies can last up to two weeks when stored correctly. Keep them in airtight containers with parchment between layers.
For gifting, these fall cookies are perfect for:
- Teacher appreciation gifts
- Thanksgiving hostess gifts
- Fall birthday celebrations
- Harvest festival treats
Package them in clear cellophane bags tied with autumn ribbon, or arrange them in decorative tins lined with tissue paper.
Making It Your Own
The best part about aesthetic fall cookie decorating is making it uniquely yours. Maybe you love the deep, moody colors of late October, or perhaps you’re drawn to the bright, cheerful oranges of early autumn.
Don’t be afraid to experiment with:
- Different textures and finishes
- Your own color combinations
- Local autumn symbols (think regional flowers or trees)
- Family traditions that inspire your designs
Creating beautiful fall cookies is about more than just following techniques – it’s about capturing the feeling of the season in edible form. Each cookie becomes a little piece of autumn art that brings joy to whoever sees (and tastes) it.
Remember, even professional cookie decorators started with wobbly lines and imperfect flooding. The key is to practice, have fun, and not worry too much about perfection. Sometimes the most beautiful cookies are the ones with a little handmade charm!


