Creating an Aesthetic Friendsgiving Dessert Table
Transform your dessert spread into the most Instagram-worthy corner of your Friendsgiving celebration with these simple styling tips and show-stopping treats.
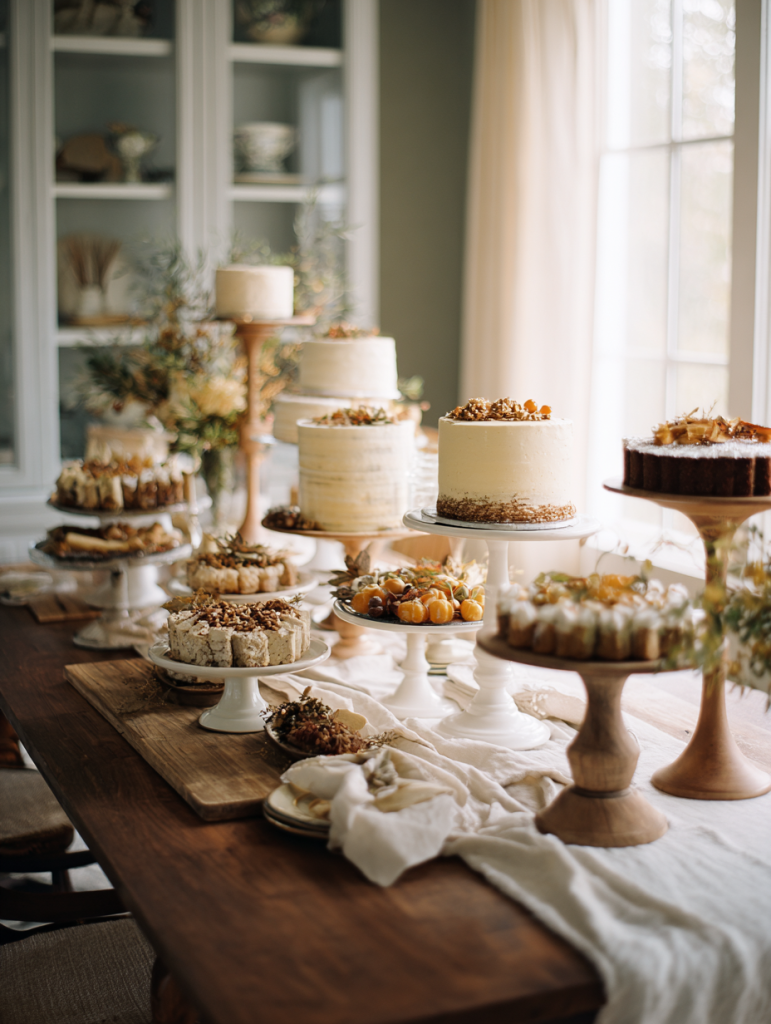
The Foundation: Setting Your Table Canvas
Start with a neutral base that lets your desserts shine. A crisp white tablecloth or natural linen runner creates the perfect backdrop for autumn colors. Layer in texture with woven placemats or wooden serving boards for that cozy, organic feel.
Pro tip: Use varying heights to create visual interest. Stack books under tablecloths, use cake stands, and prop up serving boards on overturned bowls.

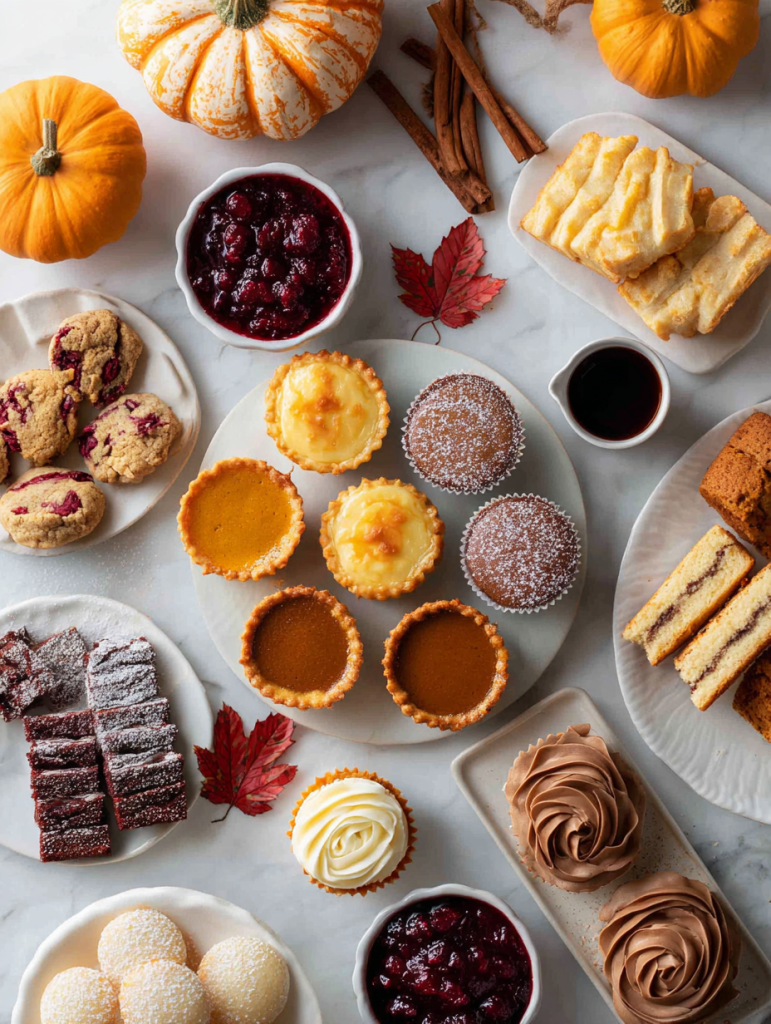
Color Palette That Photographs Beautifully
Stick to a warm autumn palette that screams fall comfort:
- Warm oranges (pumpkin, burnt orange, tangerine)
- Rich burgundies (cranberry, wine, deep red)
- Golden yellows (amber, honey, mustard)
- Earthy browns (chocolate, cinnamon, caramel)
- Creamy neutrals (ivory, cream, warm white)
Must-Have Desserts for Maximum Visual Impact
The Statement Piece: Layered Pumpkin Trifle
Create a showstopper with clear glass trifle bowls showing off layers of pumpkin mousse, gingersnap crumbs, and whipped cream. The vertical layers photograph beautifully and scream fall flavors.

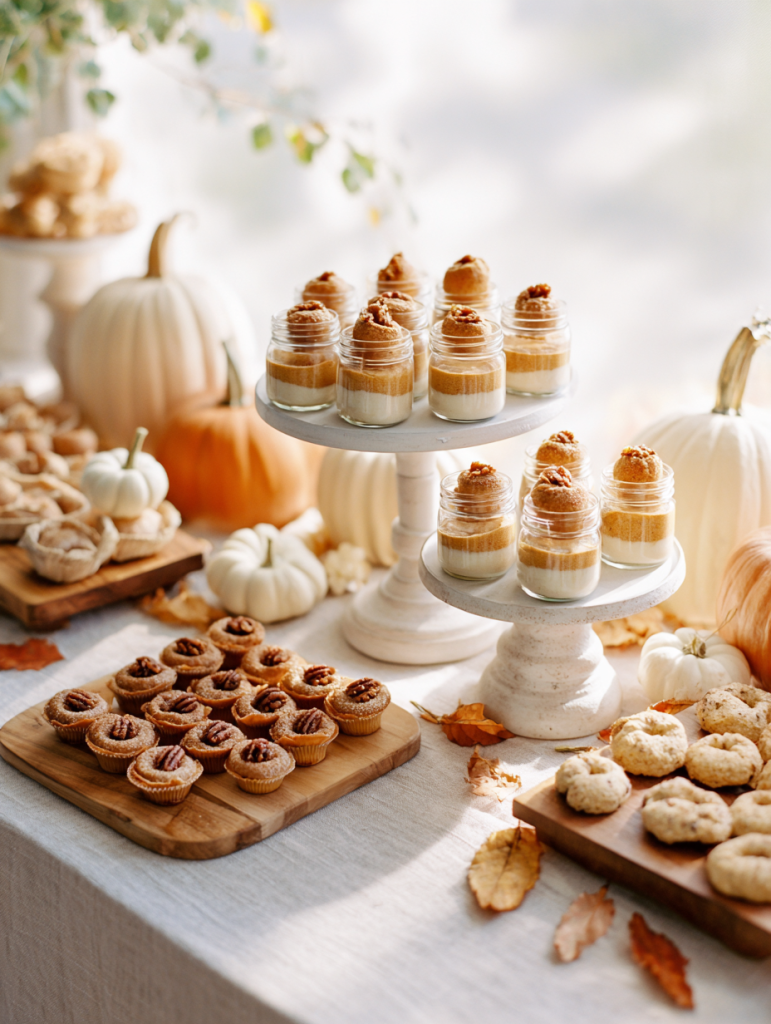
Instagram-Ready Mini Desserts
Individual portions are party gold. Think:
- Mini pumpkin cheesecakes in mason jars
- Bite-sized apple cider donuts on tiered stands
- Individual pecan tart lets in paper liners
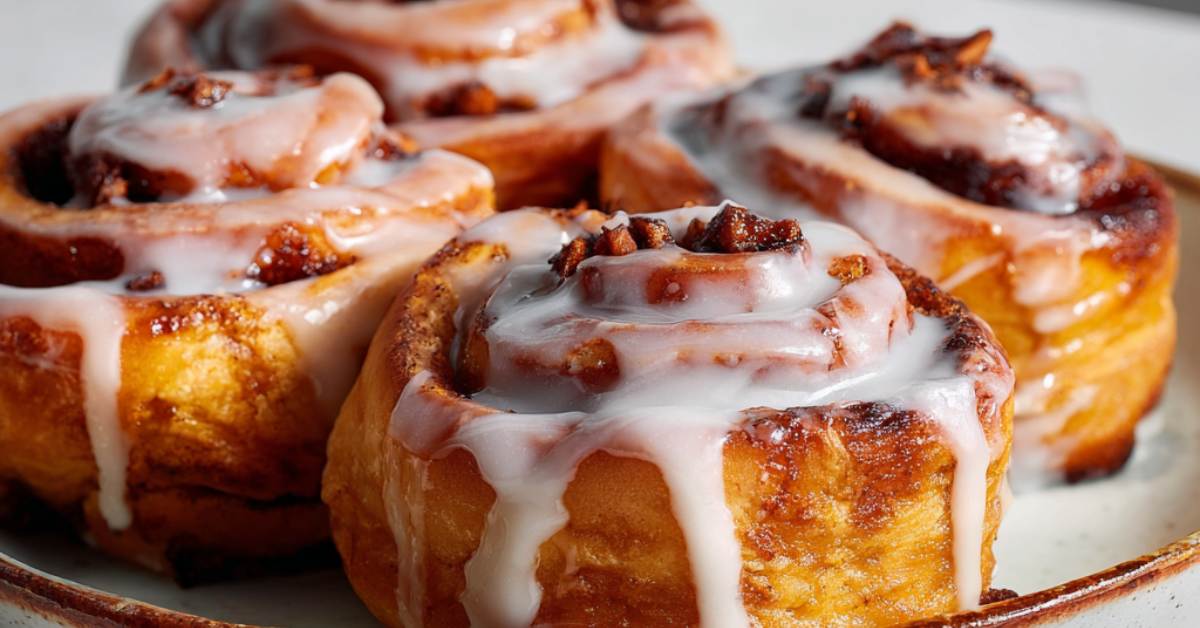
- Cinnamon roll cookies arranged on wooden boards
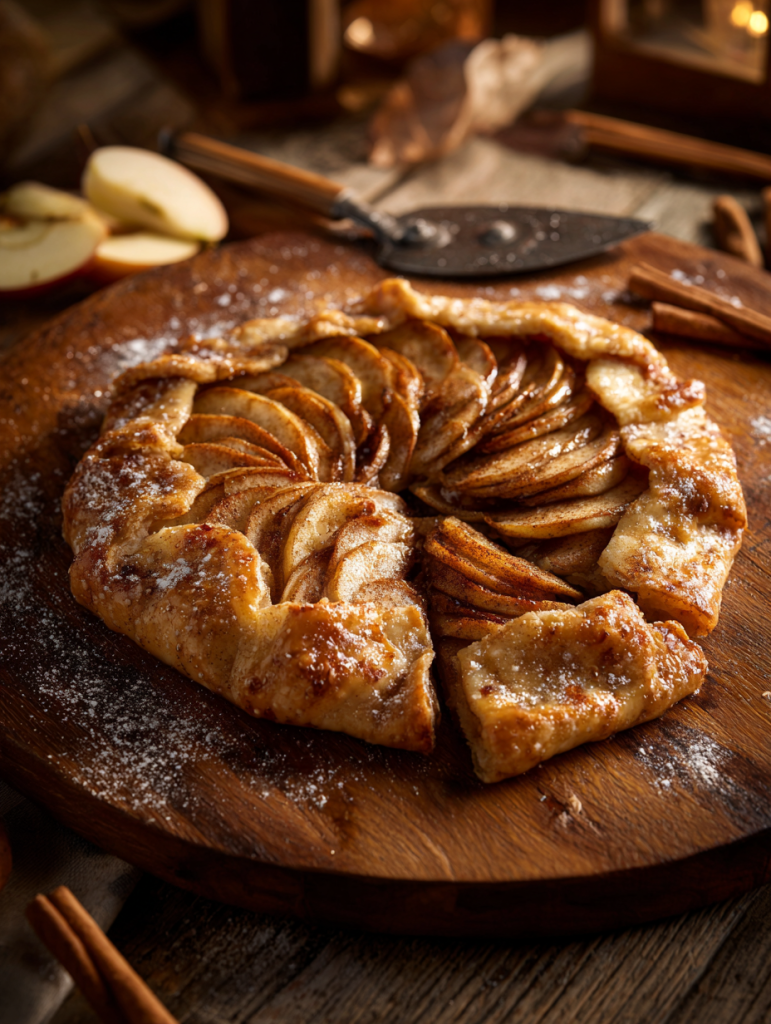
The Rustic Centerpiece: Galette or Rustic Tart
A free-form apple or pear galette brings that homemade, cozy vibe. The imperfect edges and golden crust create texture that photographs beautifully against your neutral backdrop.
Styling Secrets
Layer Your Heights
Create a landscape, not a flat surface. Use:
- Tiered cake stands (different materials and heights)
- Overturned bowls or boxes under cloths
- Books wrapped in kraft paper
- Wooden crates turned upside down
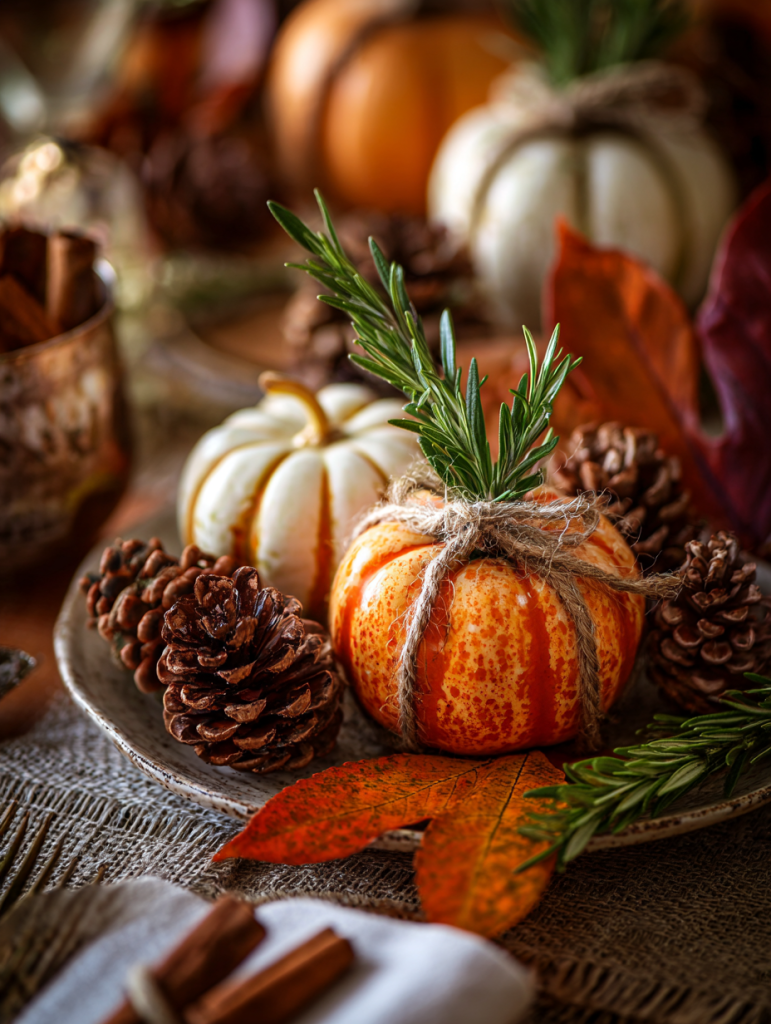
Add Natural Elements
Incorporate autumn’s bounty for authentic fall vibes:
- Mini pumpkins and gourds scattered throughout
- Pinecones tucked between serving dishes
- Cinnamon sticks tied with twine
- Fresh apple or pear slices as garnish
- Sprigs of rosemary or sage
Lighting Is Everything
Natural light makes colors pop and creates that warm, inviting glow. Set your table near a window if possible, or use warm LED lights to mimic golden hour.
The Details That Make It Perfect
Thoughtful Signage
Create simple kraft paper labels with calligraphy pens. Skip fancy fonts – handwritten looks more authentic and cozy. Include fun names like “Harvest Happiness Cookies” or “Grateful Graham Bars.”
Serving Utensils as Props
Choose serving pieces that match your aesthetic:
- Wooden spoons and spatulas
- Vintage-style cake servers
- Small mason jars for utensils
- Copper or gold-toned serving pieces
The Sweet Details
- Dust powdered sugar lightly over dark desserts for contrast
- Drizzle caramel sauce artfully on plates
- Add a few scattered cinnamon sticks or star anise
- Place a few autumn leaves (real or faux) strategically
Creating Memories Through Photos
The Hero Shot
Capture one wide overhead shot showing your entire dessert spread.

Detail Shots
Take close-ups of individual desserts, styling details, and process shots.
The Action Shot
Include one photo of hands reaching for desserts or someone serving. This adds life and shows the desserts in use, making friends and family imagine themselves at your Friendsgiving table.
Quick Shopping List for Your Aesthetic Table
Styling Essentials:
- White or linen table runner
- 3-4 cake stands (different heights)
- Wooden serving boards
- Small pumpkins and gourds
- Kraft paper for labels
- Twine or ribbon
- Fresh herbs (rosemary or sage)
Serving Pieces:
- Clear glass bowls for trifles
- Mason jars for individual desserts
- Wooden utensils
- Small plates for sampling
Make It Manageable
Remember, the goal is a beautiful table that doesn’t stress you out. Prep what you can ahead of time:
- Bake and freeze items early
- Set up your table foundation the night before
- Prep all garnishes and natural elements in advance
- Take photos during the day when lighting is best
Your Friendsgiving dessert table should feel as good as it looks – warm, welcoming, and full of delicious treats that bring people together. The aesthetic is just the beautiful bonus that makes every moment feel special and share-worthy.
Ready to create your own show-stopping Friendsgiving dessert table? Save this post and start planning your most beautiful (and delicious) celebration yet!